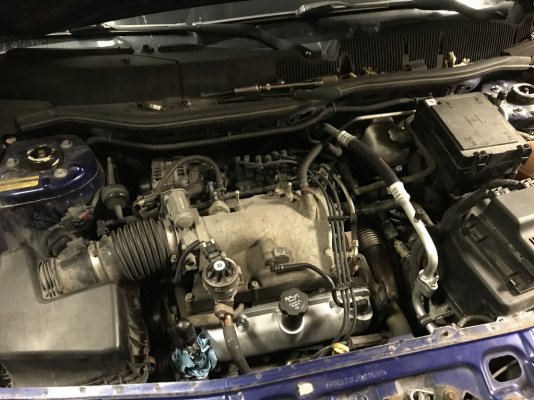
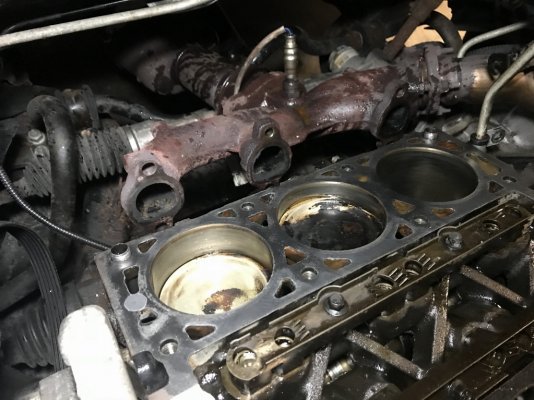
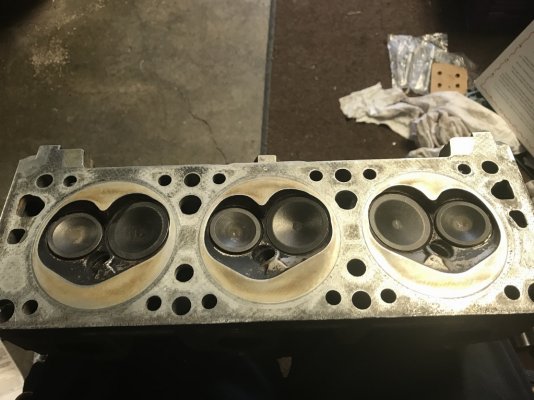
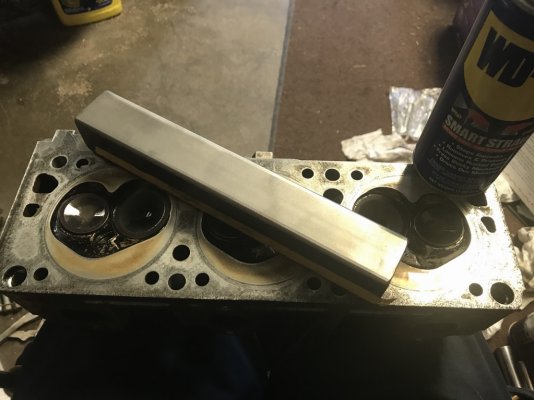
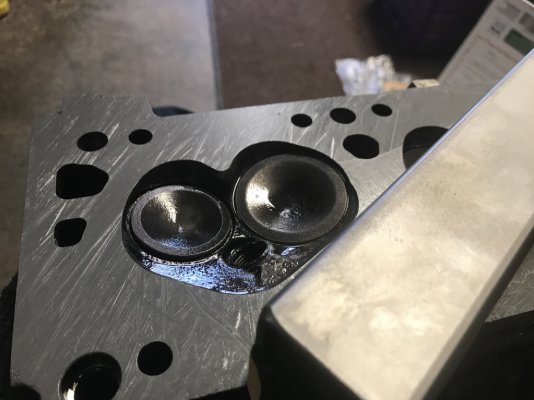
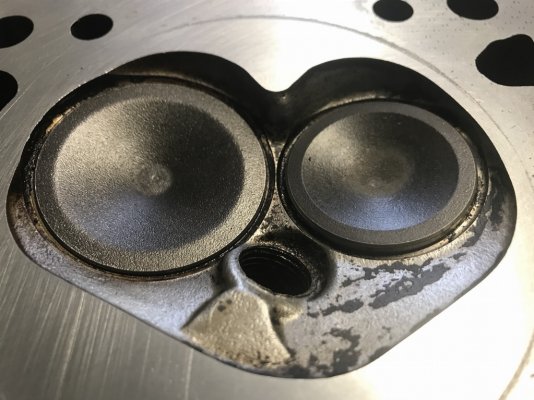
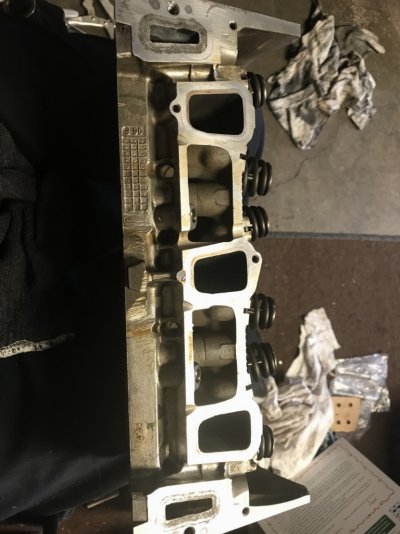
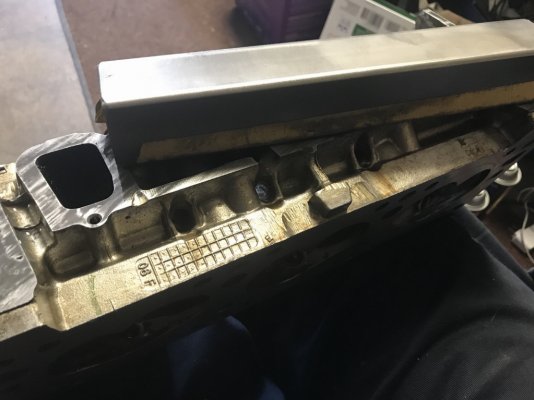
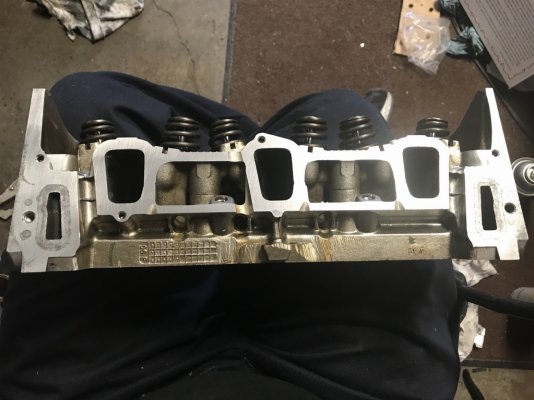
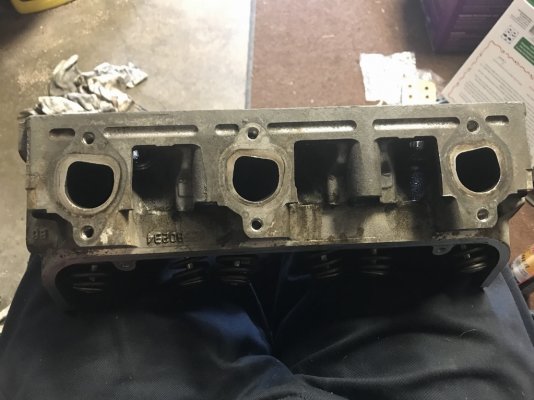
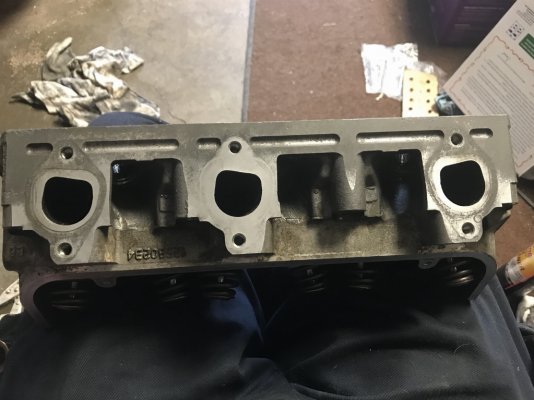
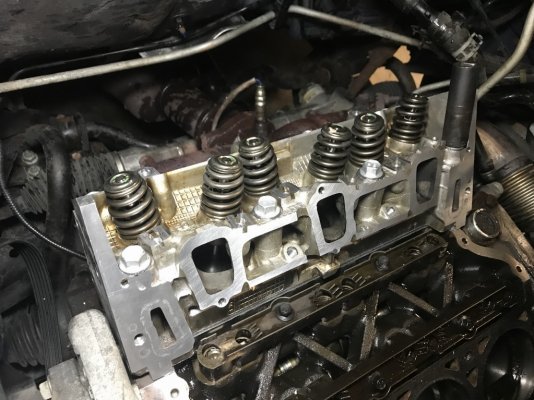
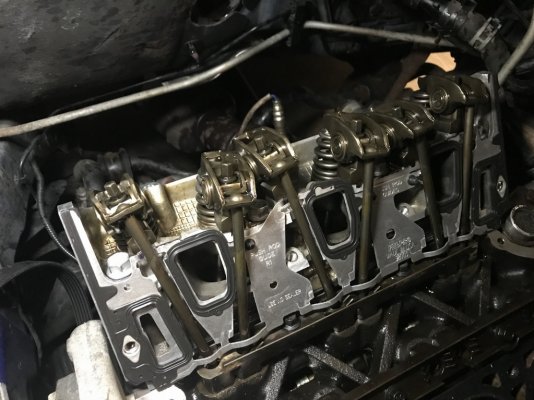
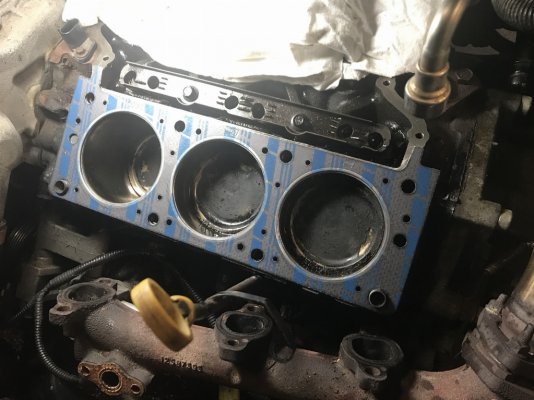
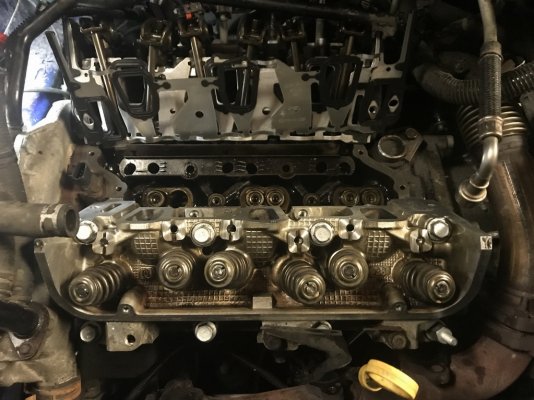
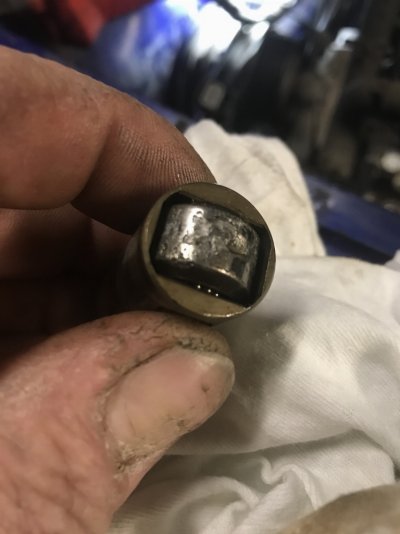
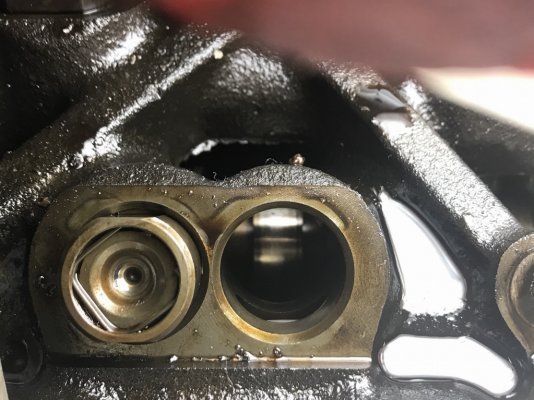
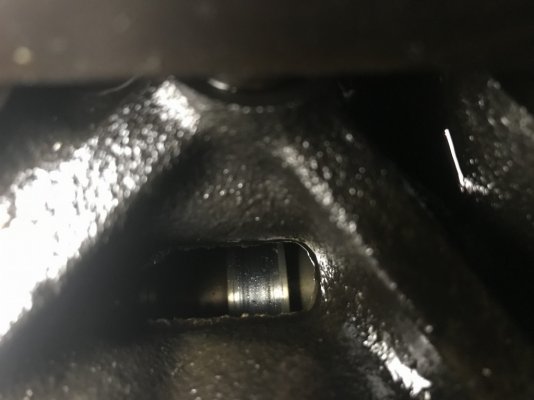
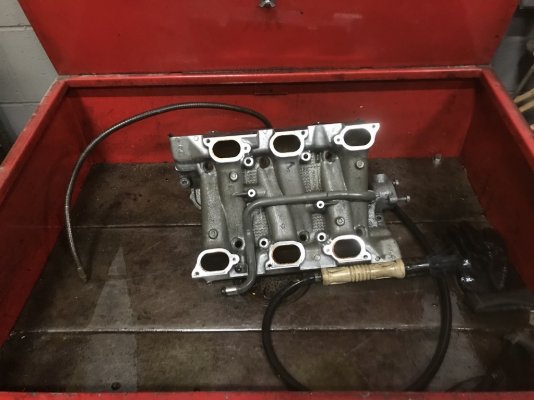
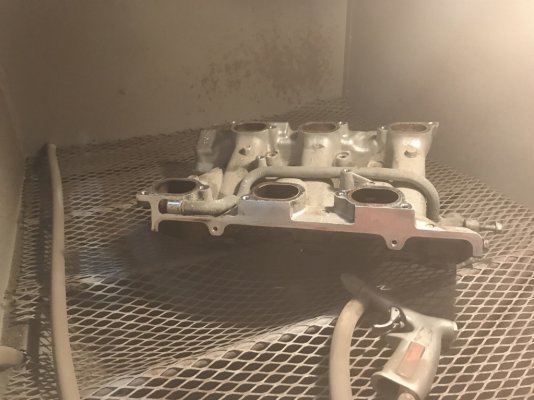
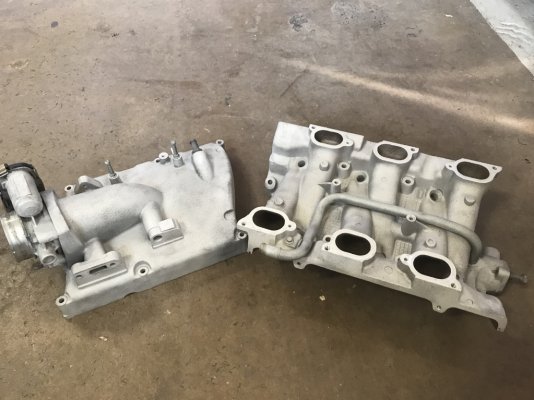
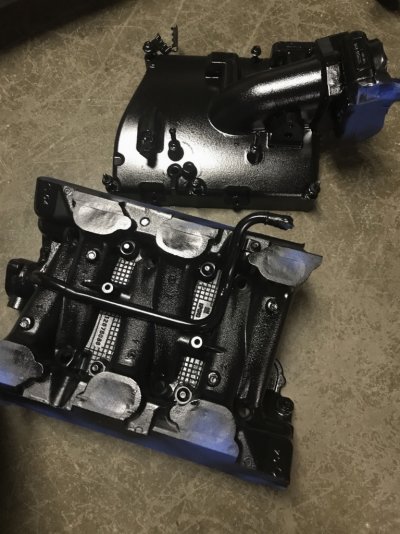
Let’s just get right into it. As the title says, I have an 07 Equinox that started giving me issues. It all started when I was out with the family, normally the wife totes the kiddos around with this vehicle, I see the temp gauge start climbing past normal operating temp and kept going. I immediately pulled over, shut it off and checked the coolant level. Level was good and hoses were warm not hot. I determined on the side of the road that the coolant temp sensor (CTS) was the issue and drove the 12 miles back home with the temp gauge hovering just under the red.
Replaced the CTS and bled the system. Everything seemed fine. For a little while. It was roughly a week later the wife told me the temp is climbing again but it fluctuates. Goes up then comes back down. I’m at 90k miles so I just went ahead and changed the T-stat and flushed the system. Again bled it out and life was good again. Or was it?
4 days later the wife says it’s doing it again. Starts climbing in temp and then drops back down. I drove it and cleaned out the catalytic convertor if you will. I figured it’s got to be the CTS because I just threw in a Duralast part because it was an easy resolution at the time. Picked up a Delco unit and did the job one more time. Surely this has got this issue licked. Yes, I just called you Surely.
Next day, doing it again. Alright, maybe the water pump is shot. I’ve seen it happen. It’s gotta not be circulating the coolant. Grabbed a water pump and changed it. Didn’t really see anything wrong with one that I took out but everything else is checking out fine. Went a head and did plugs and wires while I was there too. Left it up on ramps and bled the cooling system really good this time. There, here’s your car now leave me alone.
Think I made it about 9 days this time around before she tells me the temp is climbing again. I’m starting to get aggravated because messing with this thing is cutting into my projects time. It does it right away for me on my test drive. Fans are coming on high, that annoying chime is screaming in my ear but the hoses aren’t really hot. I start messing with it and noticed that if I turn the key to on, then off, then on, then off, then on, then off, the temp gauge needle drops ever so slightly every time I do this. Ok, now I know what’s happening, just gotten bitten by the notorious GM stepper motor issue. The gauge is wrong. But why would the fans come on based off gauge and not CTS? I’m asking myself this, stop talking to your screen. Don’t get a head of me, I’m getting there.
I tell the warden (wife), if you get into the vehicle and turn the key on, the gauge should be on the cold. If it’s not, cycle the key until it is. I ordered the stepper motor but wasn’t sure if I was gonna do it or just send out the cluster and have them all done. I have no issue doing it but again, it’s cutting into my projects.
3 days later, are you starting to see a pattern here yet? Are you even still reading this? Pretty boring without pictures isn’t it? Sorry, I usually only take pics of my toys, not her car that is giving me a migraine. Who wants to be reminded of that? Ok, back on track. 3 days later, I get a call at work and she’s telling me the car DIC (driver information center) is saying to shut the vehicle off. First started saying engine overheat and turn off ac. Ac wasn’t even on. Then says shut engine off. I’m asking her if she reset the stepper motor. She said yes. I said pull over and reset it. It should be in the middle. She says it won’t reset. I’m getting mad, yes it will. Shut it off and reset the stepper, I know it will. She gets mad and hangs up on me. 3 minutes later she calls again, now the car won’t go. What do you mean it won’t go? DIC says engine power reduced. Oh great, it went into limp mode. She’s 20 minutes from home in rush hour traffic. I tell her to do what she has to do, I’m at work. Park it and walk, call for a ride, call a tow. I don’t care. Just make sure my princess is ok, my 3 year old daughter. She left it on the side of the road and called a friend of mine who went and picked her up and gave her his truck to do her running. I get off of work and go to the car and it’s dead. The fans ran so long they killed the battery. In the PCM program it’s only suppose to allow the fans to run for 300 seconds max so I’m not sure if she sat there listening to the radio and charging her phone waiting for her ride but either way, I have to do something. Went and grabbed my trailer and winched the car up and got it back home.
The gauge has swept all the way past hot and about half way around. Guess I can’t wait any longer. I’m changing the stepper. Pulled cluster and took it apart. Got out my solder sucker and iron. Replaced the stepper and put it back together. Took the car for a ride after charging the battery and about time, this SOB is out of my hair. Back to some fun wrenching on projects.
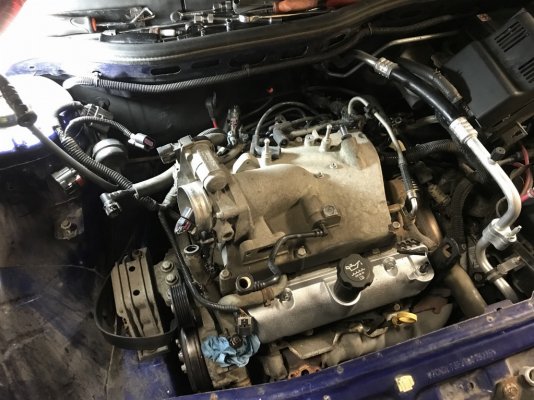
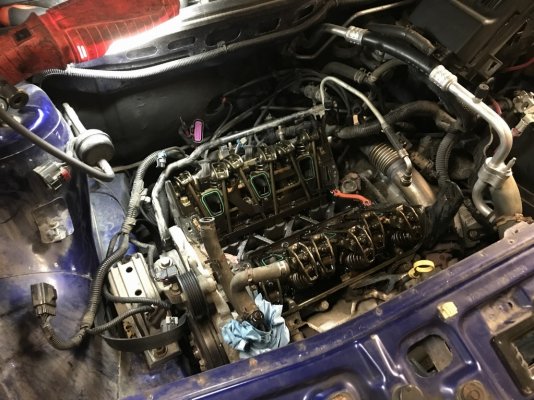
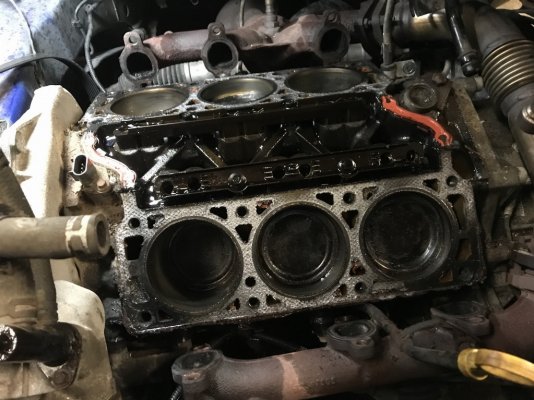
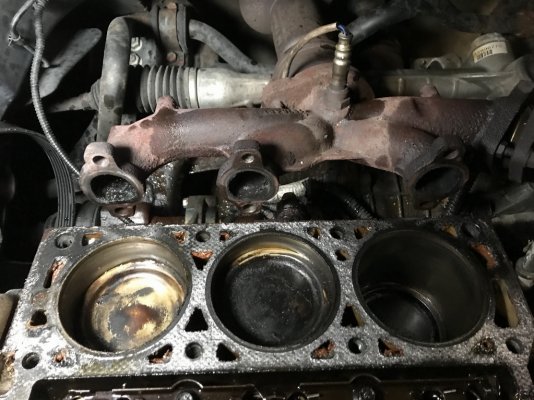
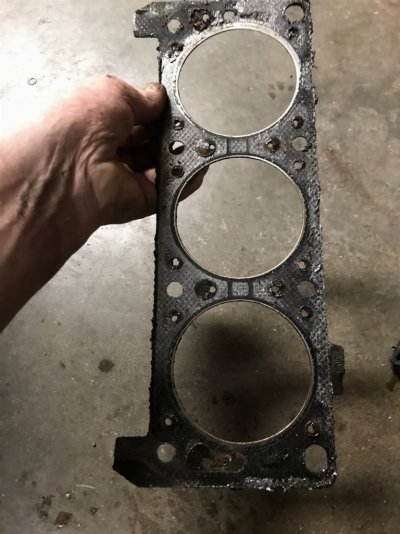
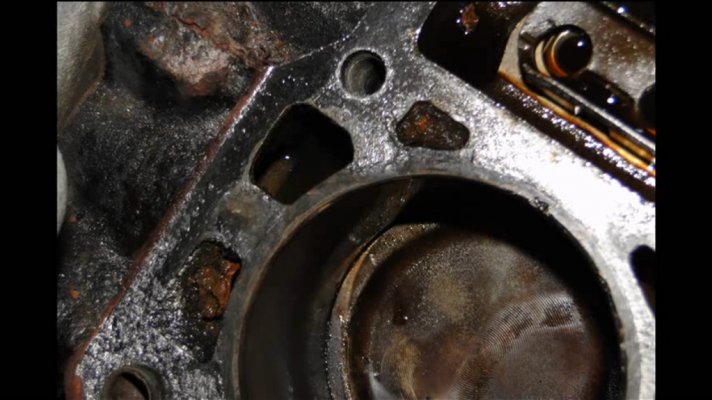
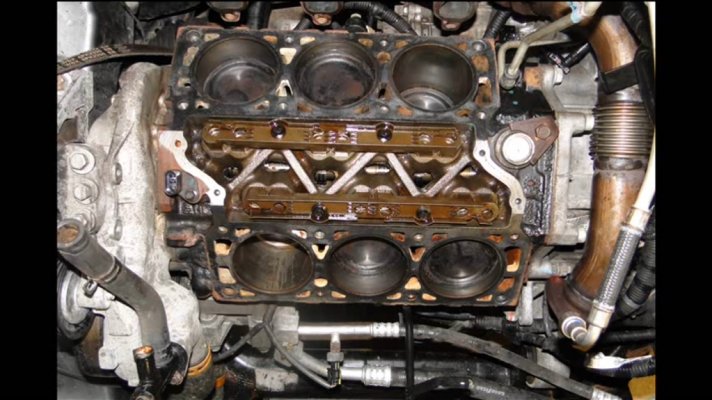
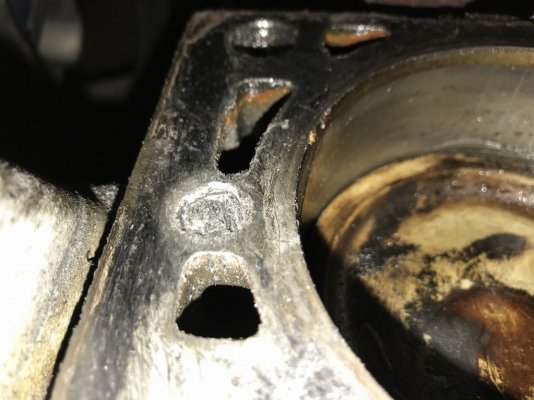
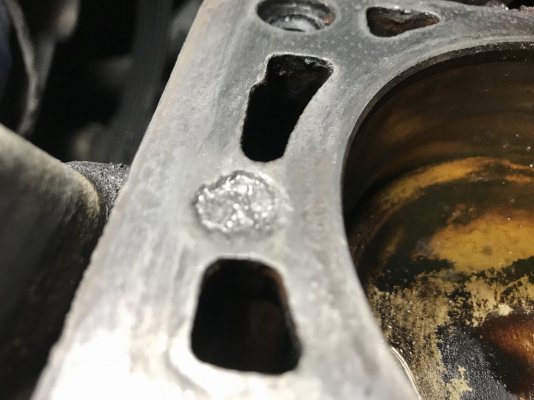
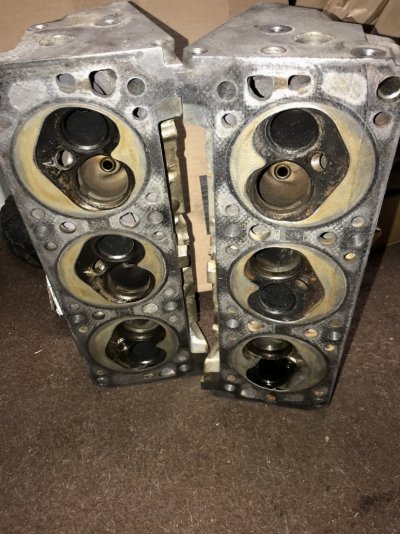
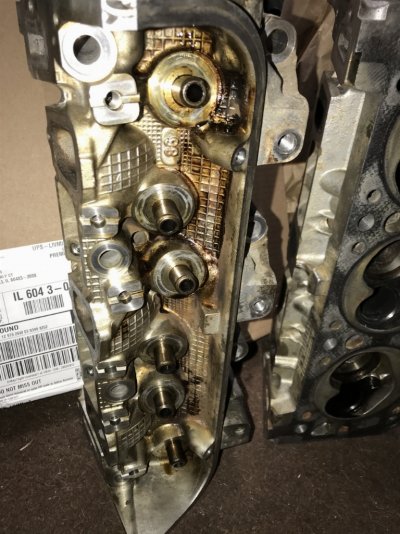
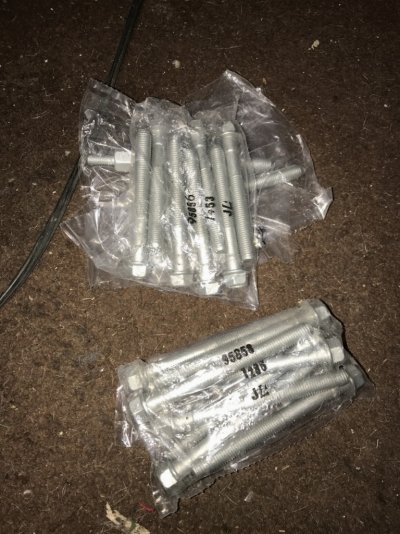
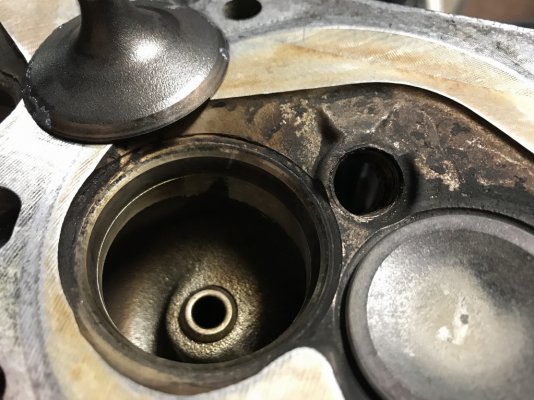
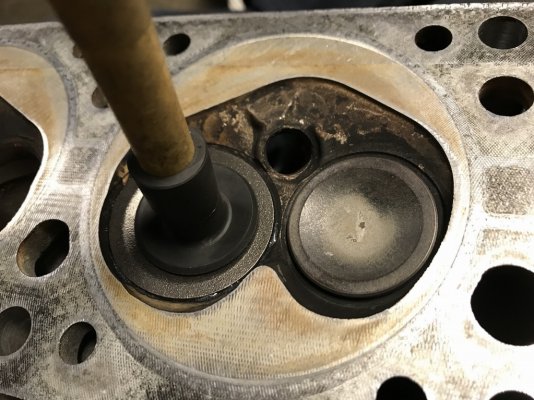
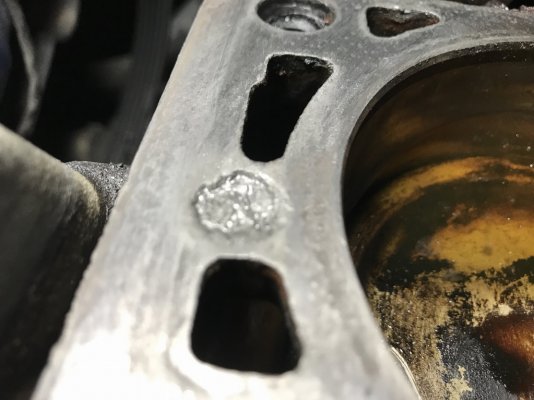
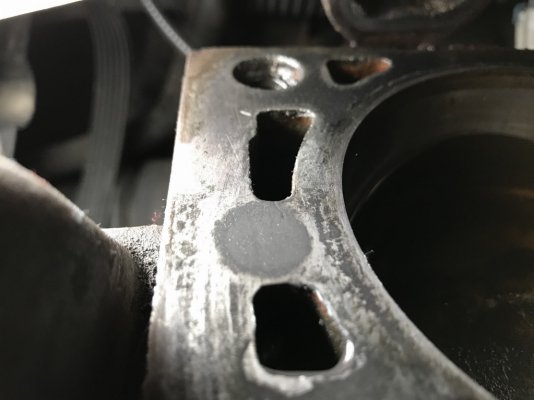
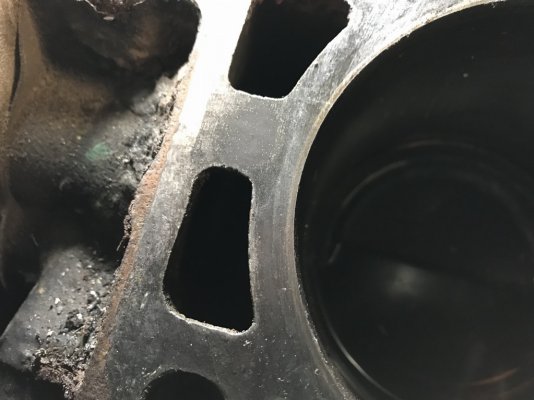
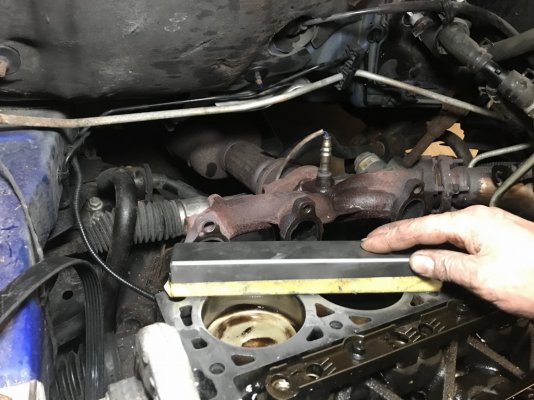
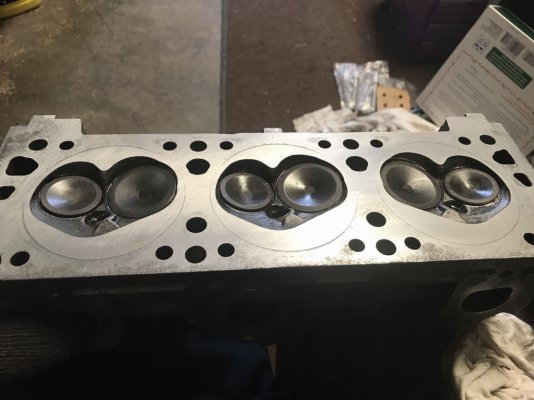
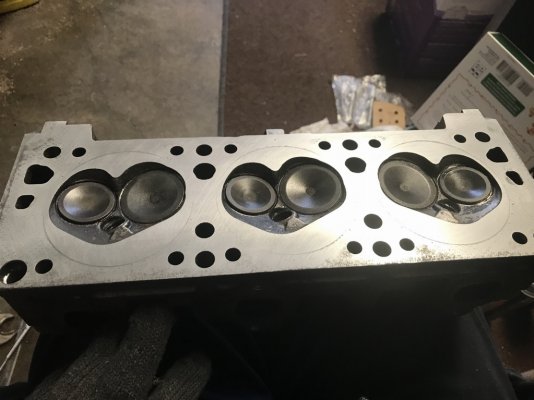
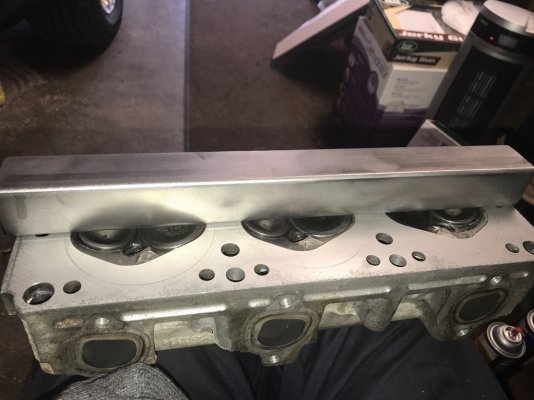
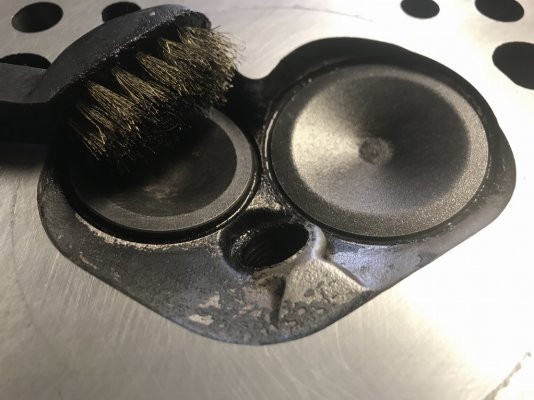
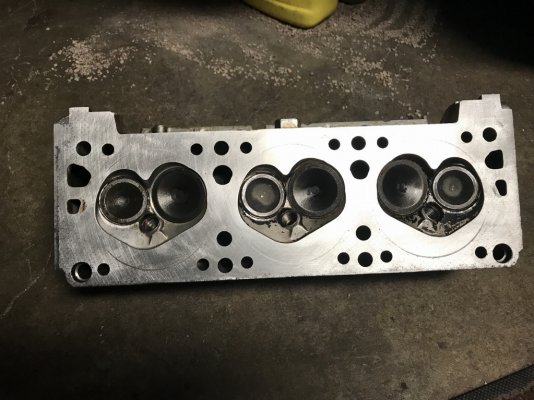
If that was the end, I probably wouldn’t be posting any of this now would I? It’s gotten worse. No heat, temp fluctuating and a lot of cooling system pressure. Now I’m at my wits end. It’s a simple cooling system. I start simple, I’m a firm believer in the KISS method (Keep It Simple Stupid), oil level is perfect, no signs of moisture under 710 cap (if your a car guy you got that), no bubbles in reservoir while running, no white smoke or coolant smell at tailpipe, pressure tested system and held 15lbs for 30 minutes. No external leaks. Compression test- roughly 130 PSI on all 6. Combustion gas chemical test on reservoir- no signs of any color change. Cylinder leak down test- tests good. I can’t find anything wrong. But I’m getting tired of messing with it so I’m going after a bad head gasket pumping air into cooling system. Even tho tests are telling me it’s fine, I’m still going in.
Gonna leave it here until I can get some pics uploaded. Might switch to Tapatalk, it’s easier since photobucket sucks anymore. I shall return. With pictures this time for the photo whores. I’m one too. I don’t usually type this much without a ton of pictures. Bare with me.

