There is a guy in 1 of my other forums that did an entire audio build on a 2011 model. I couldn't copy just the part about the headliner so I had to do the entire teardown. Here you go.
I guess it is my time to share a project in the works with my 2015 Equinox. I started building this as a last minute project for my company and our booth at the CES show in L bas Vegas in January so I have 6 weeks to get it all wrapped up..
*Working for an audio manufacture I have had more than my fair share of exotic build that leave in some cases nothing more than a show car as well as been in the competition arena in sound quality with multiple championships in several organizations over the past 10 years.
** This time as I have a new baby and a wife who simply wont put up with it anymore I am back at it again but with some guidelines *for the build to follow-
Hi End Sound Quality Demo VehicleMust be a show worthy install to showcase the products at tradeshowsmust not use up any usable cargo space in the vehicle, however can replace, modify or re-create areas that are behind panels or in areas that cant be used as open storage space off the lotSystem must sound incredible and yet be a lot of fun to listen toVehicle must retain OEM function and operationMust be able to play all kinds of music
So I will cover the steps of this build over the new 6 weeks including sound dampening, wiring, fabrication, installation, application, *and the big one modification of the OEM output and it's current electronics as I will be beefing up the electronics and outputs of the stock deck as I want to retain 100% functionality of the stock deck and its way its integrated and functions.
Step 1- Teardown-
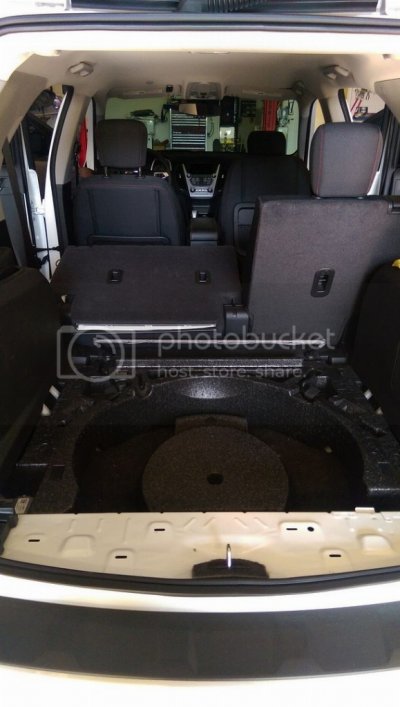
Before Teardown-
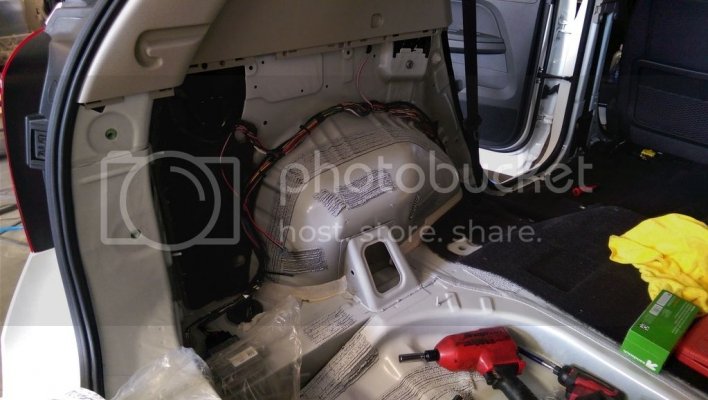
Behind the left side panel there is a single main harness running in the vehicle. The harness connects to what looks like possibly a BCM or sorts. Also the wheel well is much larger than on the passenger side. Also on this side there is a rubber wire grommet where most all of the exterior electrical wires run thru to the outside. This is where I will be running my rear radar sensor wires thru for the K40 (more to come on that). The rear BCM like module is grounded thru the chassis so when we move it we will have to make sure that it is properly grounded.
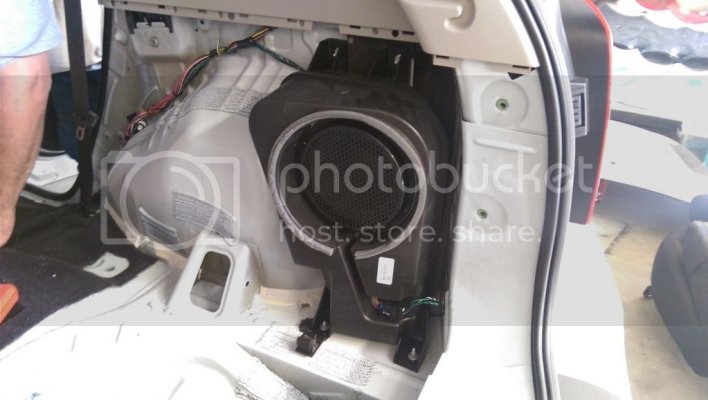
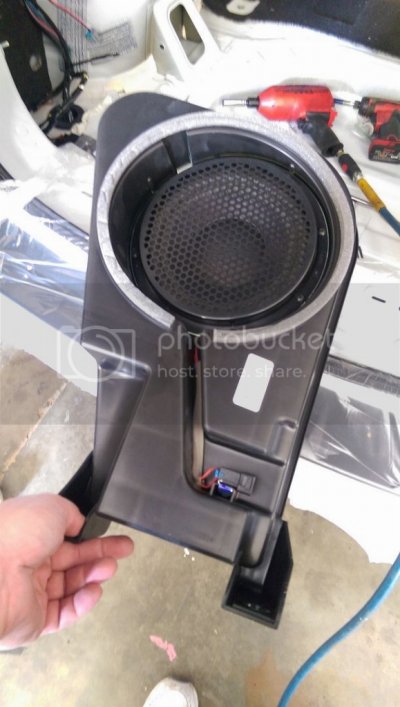
Factory subwoofer is located on the passenger side behind the rear panel in the 2015 Equinox. The harness for this side of the car is split and routed via two different paths (from the front of the vehicle as well as over the ceiling behind the headliner.) Although the stock side panel is larger than the drivers side the wheel well is about 30% smaller. So this will give us more room for a formed sub enclosure if we choose to go this route. to remove the stock sub enclosure it is held in place by 4 10mm nuts and simply unplug the molex at the bottom right and its out.
To start access to the center council the side panels simply pop off. Each side is in three sections. Start with the front sides (be sure to remove the small plastic pop that arttaches the drivers side panel to the under dash panel), then pop off the very back of the council (be sure to unplug the power port), then unbolt the center council lid and pop the top trim then remove the middle section side plates. *
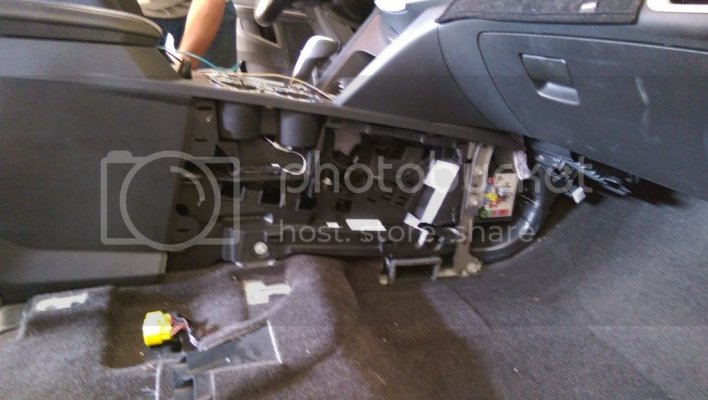
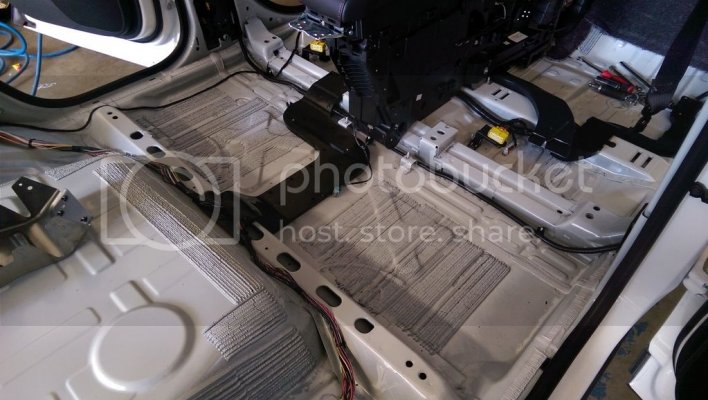
After removing all of the side plastics (door runners, pillar bases etc) you can now remove the carpet kit without having to remove the entire council. The carpet does go under the back of the center council so you can remove the back two brackets and rear metal place (4 10mm bolts and 8 Phillips screws) and the carpet can slide out from under it. If you are really ambitious I guess you can remove the entire center council but even I have my limits with the amount of electronics and mechanical pieces to the shiftier there is in there.
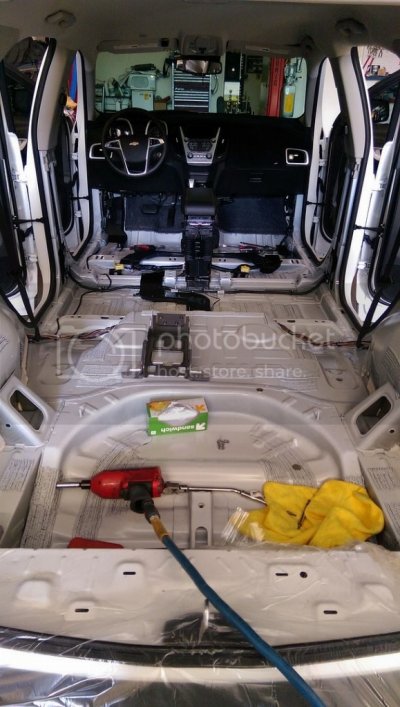
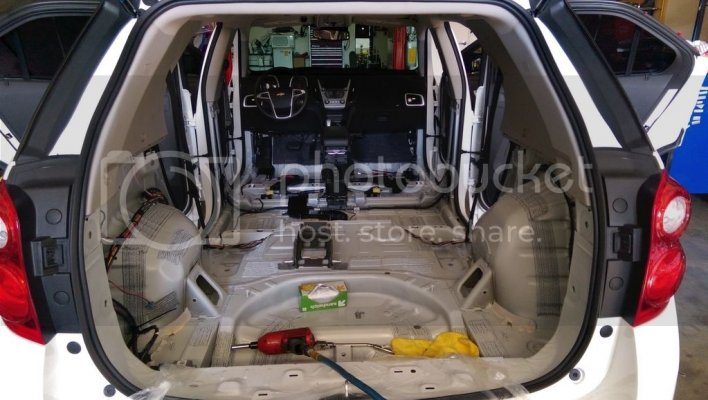
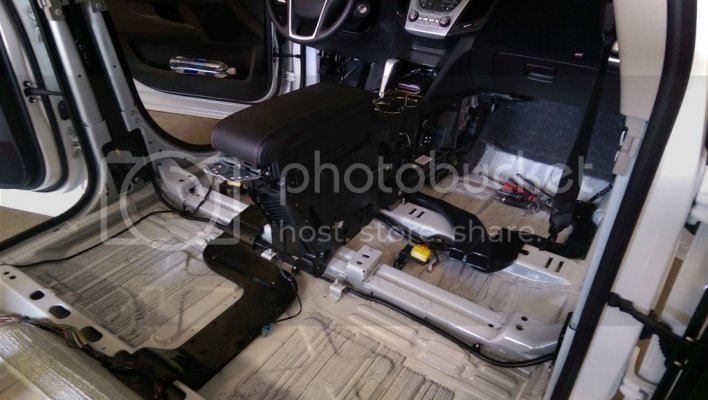
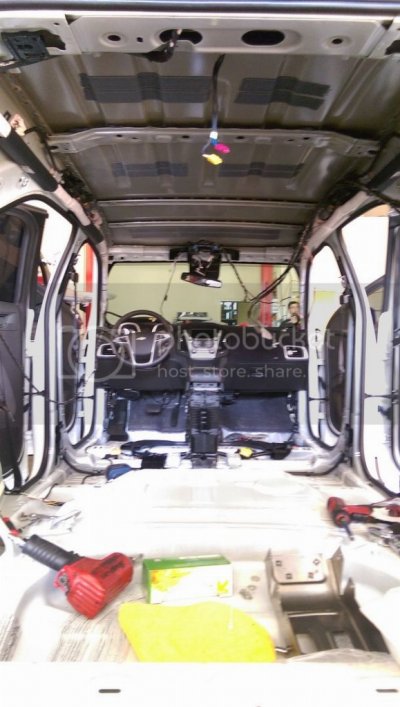
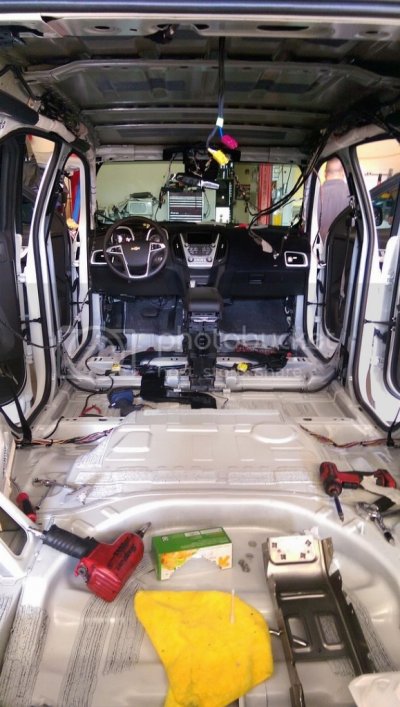
When pulling down the headliner be very careful as most all of the wires that run thru the roof are hot glued to the back side of the headliner. Make sure you have somebody help you so you dont crease or bend the headliner as they are easily damaged and have them carefully remove the wires from the back. *Once down and out of the vehicle you will have a wiring mess that looks like this.
Sent from my SM-G900T using Tapatalk


